
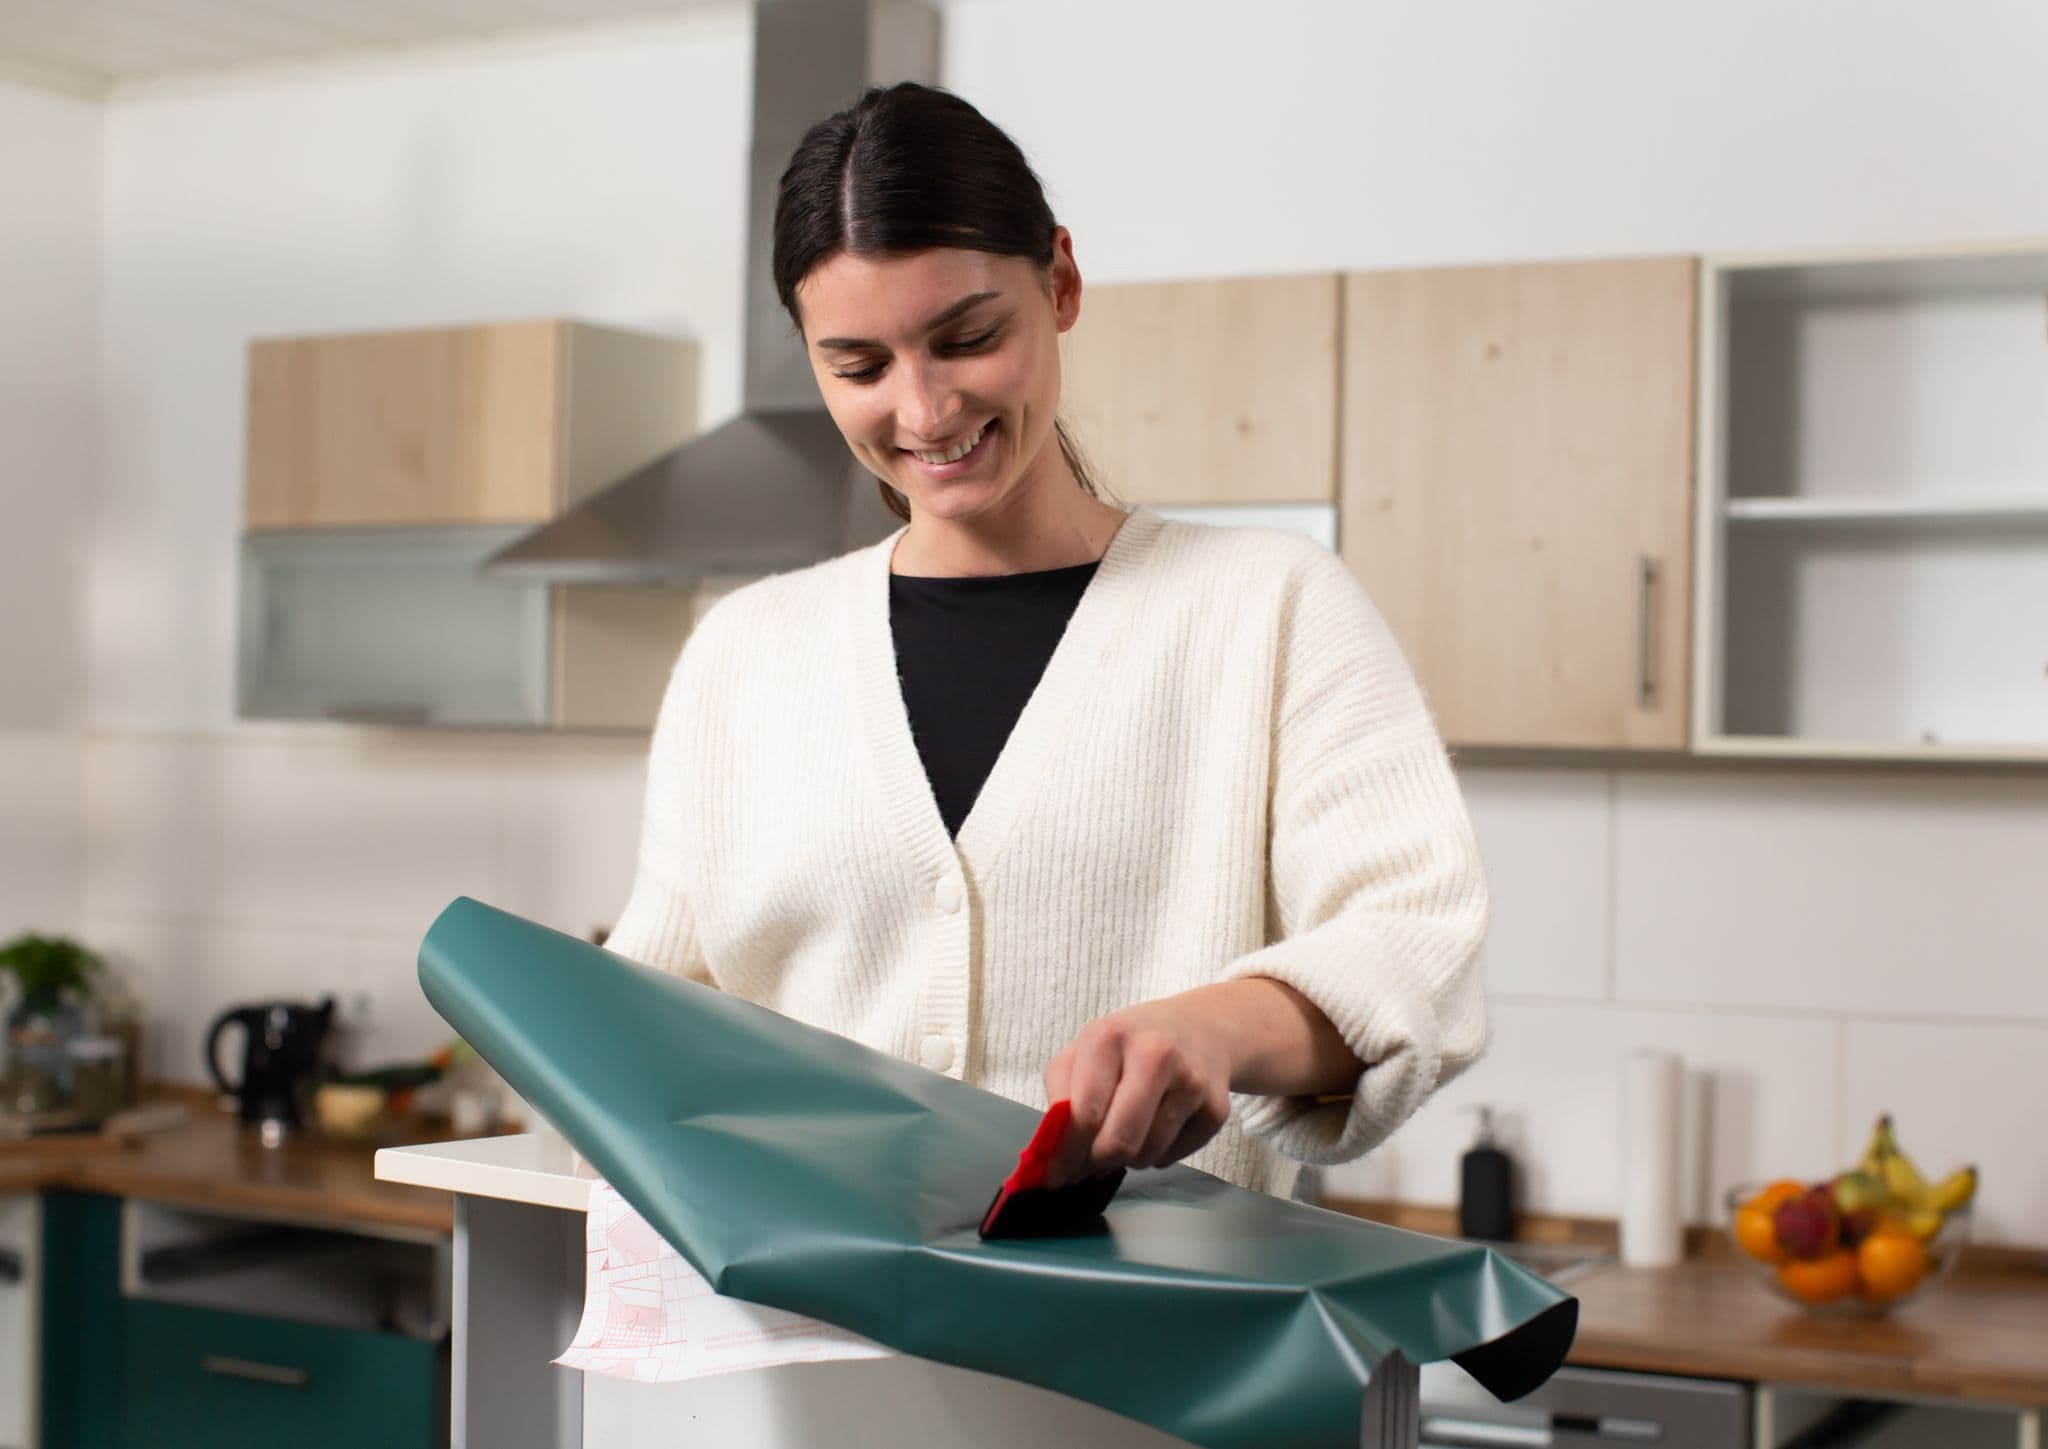
Kitchen Makeover on a Budget Using DC-Fix Vinyl Wrap
Giving your kitchen a fresh look doesn’t have to break the bank. With a little creativity and a budget-friendly material like DC-Fix vinyl wrap, you can transform cabinets, countertops, and splash areas without professional installation or costly replacements. This guide explores practical ways to use kitchen vinyl wrap to achieve a stylish, durable, and personalised kitchen makeover.
Why choose kitchen vinyl wrap?
Vinyl wrap offers a high-impact visual upgrade at a fraction of the cost of new cabinetry or stone surfaces. DC-Fix vinyl wrap, in particular, is popular for its wide range of finishes, ease of application, and removable adhesive. It’s ideal for renters, DIY enthusiasts, and homeowners looking to refresh their space quickly. When applied correctly, vinyl wrap can protect surfaces from minor scratches and spills while giving your kitchen a cohesive, contemporary look.
Planning your budget-friendly makeover
Before you start peeling and sticking, take a moment to plan. A well-thought-out approach will save time, reduce waste, and ensure a professional finish.
- Assess surfaces: Identify which areas will benefit most from vinyl wrap, such as cabinet doors, drawers, countertops, and the island.
- Choose finishes: Decide on a unifying color or pattern. Matte finishes hide fingerprints, while glossy options can create a brighter, more reflective space. Consider patterns that mimic natural materials like wood or stone for warmth and texture.
- Measure carefully: Accurate measurements are crucial. Record the width and height of each surface to calculate how much kitchen vinyl wrap you’ll need.
- Test a small area: Practice on a hidden panel to get a feel for the technique and adjust tension, trimming, and smoothing.
- Prepare for adhesives: Clean surfaces thoroughly, degrease with alcohol or a dedicated cleaner, and allow to dry completely. A clean surface ensures better adhesion and longevity.
Choosing the right surfaces for wrap
Not every surface is ideal for vinyl wrap, but many are adaptable with a few preparations.
- Cabinet doors and drawer fronts: These are the most common canvases for a budget kitchen makeover. Smooth, flat surfaces yield the best results.
- Backsplashes: Vinyl wrap can be used for splash areas if you choose heat- and water-resistant varieties and seal edges where possible.
- Countertops: Some DC-Fix products are designed to withstand kitchen use and can be applied over existing laminate or solid surfaces.
- Appliances: With careful cutting and edge sealing, you can wrap appliance panels to create a cohesive aesthetic.
Step-by-step application guide
A successful wrap depends on preparation, patience, and technique. Follow these steps to achieve a near-professional finish.
- Gather tools: Utility knife, squeegee or scraper, seam roller, measuring tape, scissors, and a heat gun or hairdryer for stubborn corners.
- Prep surfaces: Remove doors and drawers if possible. Clean, degrease, and dry. Lightly sand glossy surfaces if needed to improve adhesion.
- Cut accurately: Measure each surface, allowing extra for trimming. Label pieces to avoid mix-ups.
- Apply slowly: Peel back a small portion of the backing, align, and press with a squeegee as you go. Work from the center outward to minimise air pockets.
- Use heat for curved areas: Gentle heat softens the vinyl for wrapping around edges and corners. Go gradually to avoid stretching.
- Trim precisely: Use a sharp blade to trim around edges, keeping a small overhang that can be tucked under doors or wrapped to the back.
- Seal the edges: For splash areas and edges, consider a clear sealant or edge seal to improve longevity and moisture resistance.
Maintaining and refreshing your kitchen vinyl wrap
To keep your budget kitchen looking sharp, follow simple maintenance habits:
- Wipe with a damp microfiber cloth to remove grease and fingerprints.
- Avoid abrasive cleansers; use mild soap and water when necessary.
- Address scratches promptly; light scuffs can often be buffed out with a soft cloth and a little heat.
- Inspect edges periodically and re-seal where necessary to prevent peeling.
Design ideas to maximise impact
A successful kitchen vinyl wrap project isn’t just about slapping on material; it’s about creating a cohesive, stylish space.
- Monochrome makeover: Choose a single neutral tone across cabinets and island for a sleek, modern look.
- Textured realism: Opt for wood or stone-inspired finishes to introduce warmth without the permanence of real materials.
- High-contrast accents: Pair light upper cabinets with darker lower units to create depth and interest.
- Creative backsplashes: Use patterned wraps in a small patch or stripe to define cooking zones or to frame the hob.
Common challenges and how to overcome them
- Air bubbles and wrinkles: Work slowly, use a squeegee, and puncture small holes to release trapped air if needed.
- Edges peeling: Ensure clean edges, use heat to re-soften the vinyl, and re-press with a seam roller.
- Temperature considerations: Keep the room within temperate conditions during application to avoid uneven adhesion.
Safety and warranty considerations
- Check product specifications for heat resistance and water exposure. Not all DC-Fix wraps are rated for high-heat surfaces.
- Follow manufacturer instructions for cure times and edge sealing.
- If you rent, verify with your landlord about using vinyl wrap and how it will be removed later.
Final thoughts
A kitchen makeover on a budget using DC-Fix vinyl wrap is entirely achievable with careful planning, precise measurement, and patient application. By selecting the right finishes, prepping surfaces thoroughly, and maintaining edges, you can transform a tired kitchen into a vibrant, cohesive space without the cost and disruption of full cabinet replacement. Whether you’re aiming for a modern, minimalist aesthetic or a warm, textured look, kitchen vinyl wrap offers flexibility, cost savings, and a quick path to a refreshed kitchen.
If you’re ready to start, gather your materials, map out your design, and enjoy the transformational journey of giving your kitchen a fresh, personalised style.